WireGuard Client Setup
AMTAB Systems that have an internet connection are normally connected to AMTAB’s WireGuard network, hosted on server-1.amtab.se. This allows the systems to be reached remotely over an encrypted tunnel.
Each customer has a dedicated subnet within 10.9.0.0/16, for example 10.9.2.0/24 or 10.9.3.0/24. Your systems are placed in your subnet, and it is isolated from all other customers. This guide describes how to connect a computer to your subnet so that you can reach your systems.
Before You Start
Request the following from AMTAB:
Your subnet, for example
10.9.2.0/24.The address to use for your computer within that subnet.
The address of one of your systems, to test the connection against.
Client Install Guide
This guide is aimed at Windows users, but the principle is the same for MacOS, Linux, Android and iOS - though the pictures will be incorrect.
Download, install and run the client from the official WireGuard website.
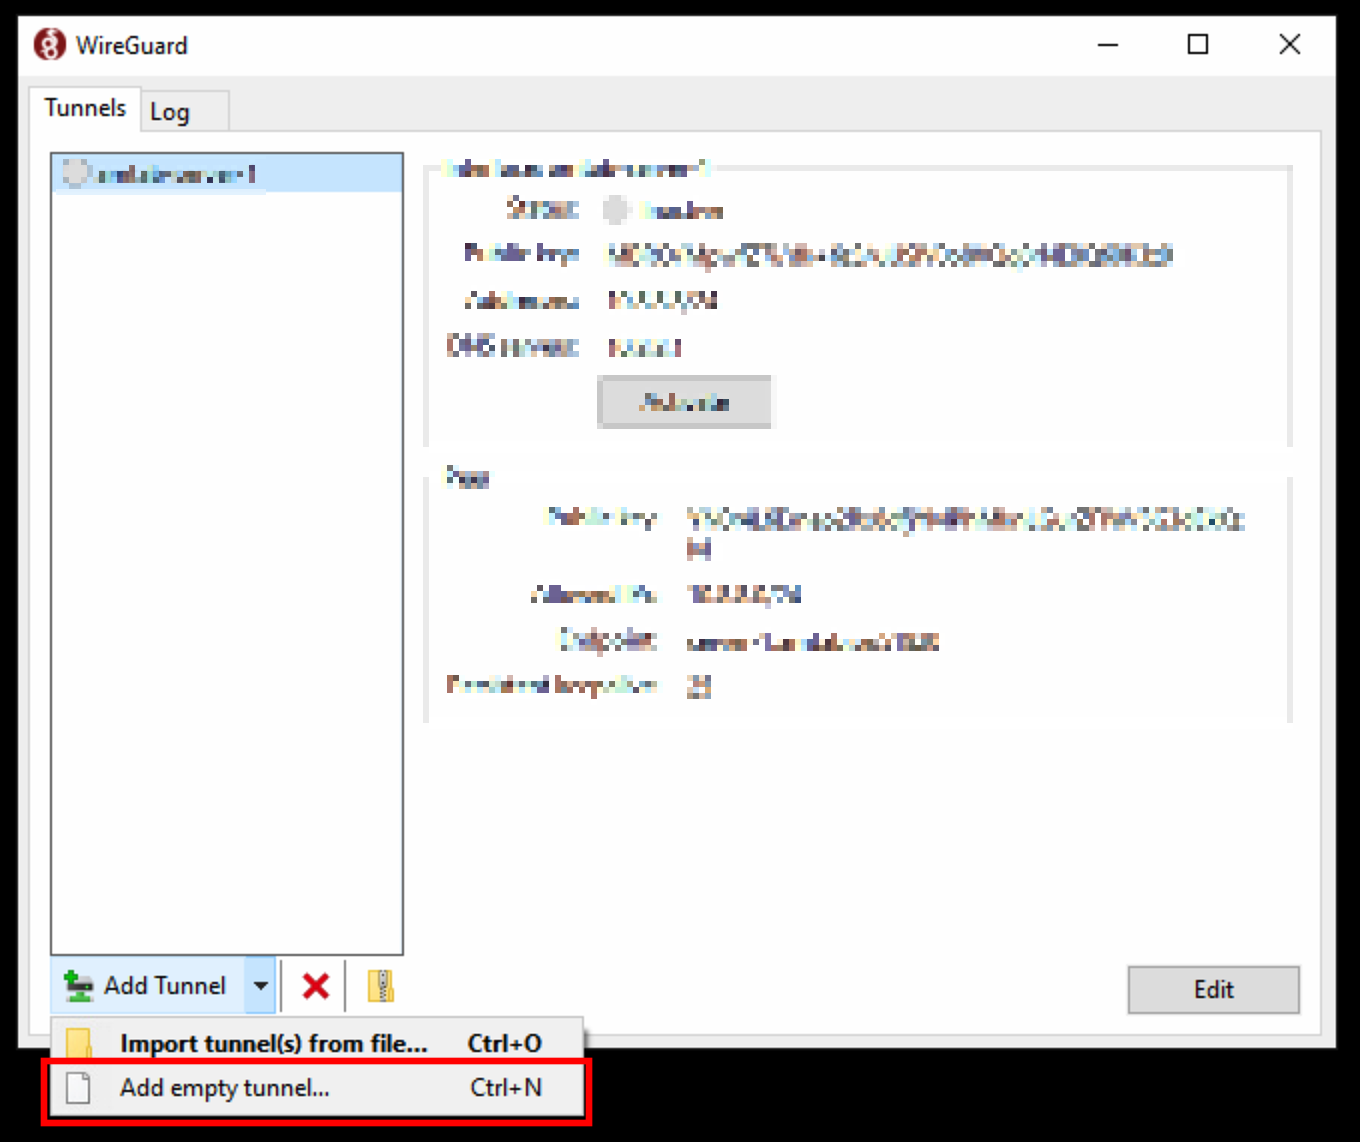
Choose to create a new empty tunnel. A private/public key pair is automatically generated by the client, and the settings file is displayed. The private key is sensitive information and should never be shared with anyone.
Name the tunnel “amtab-server-1” or something similar.
Below the
PrivateKeyfield, add the following. Replace<x>with the third number of your subnet, and<n>with the last number of the address you received from AMTAB:# Your computer's address, received from AMTAB Address = 10.9.<x>.<n>/32 [Peer] PublicKey = Huq88inFGiCZq9CYl/DqPCWxjvqZ5mlxOpXZRfAd60I= # Your subnet, received from AMTAB AllowedIPs = 10.9.<x>.0/24 Endpoint = server-1.amtab.se:51821 PersistentKeepalive = 25For example, if your subnet is
10.9.2.0/24and your address is10.9.2.100, useAddress = 10.9.2.100/32andAllowedIPs = 10.9.2.0/24.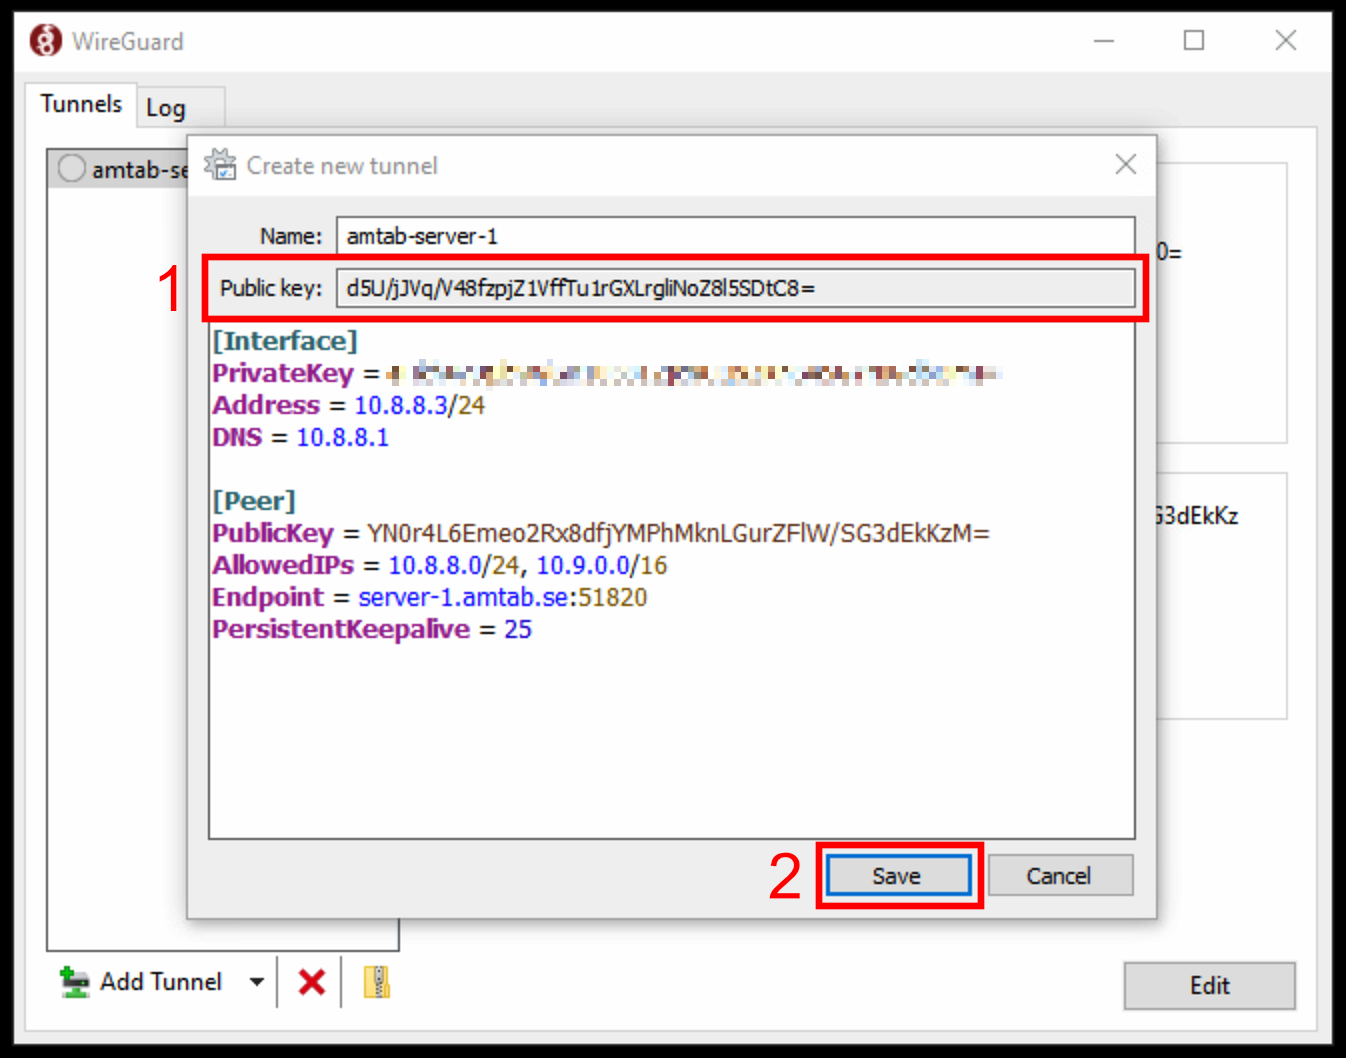
Select the text in the “Public key” textbox, and copy it. Paste it into an email or message to the person who gave you your address. They need to approve your connection before it can function. While waiting, continue with the steps below.
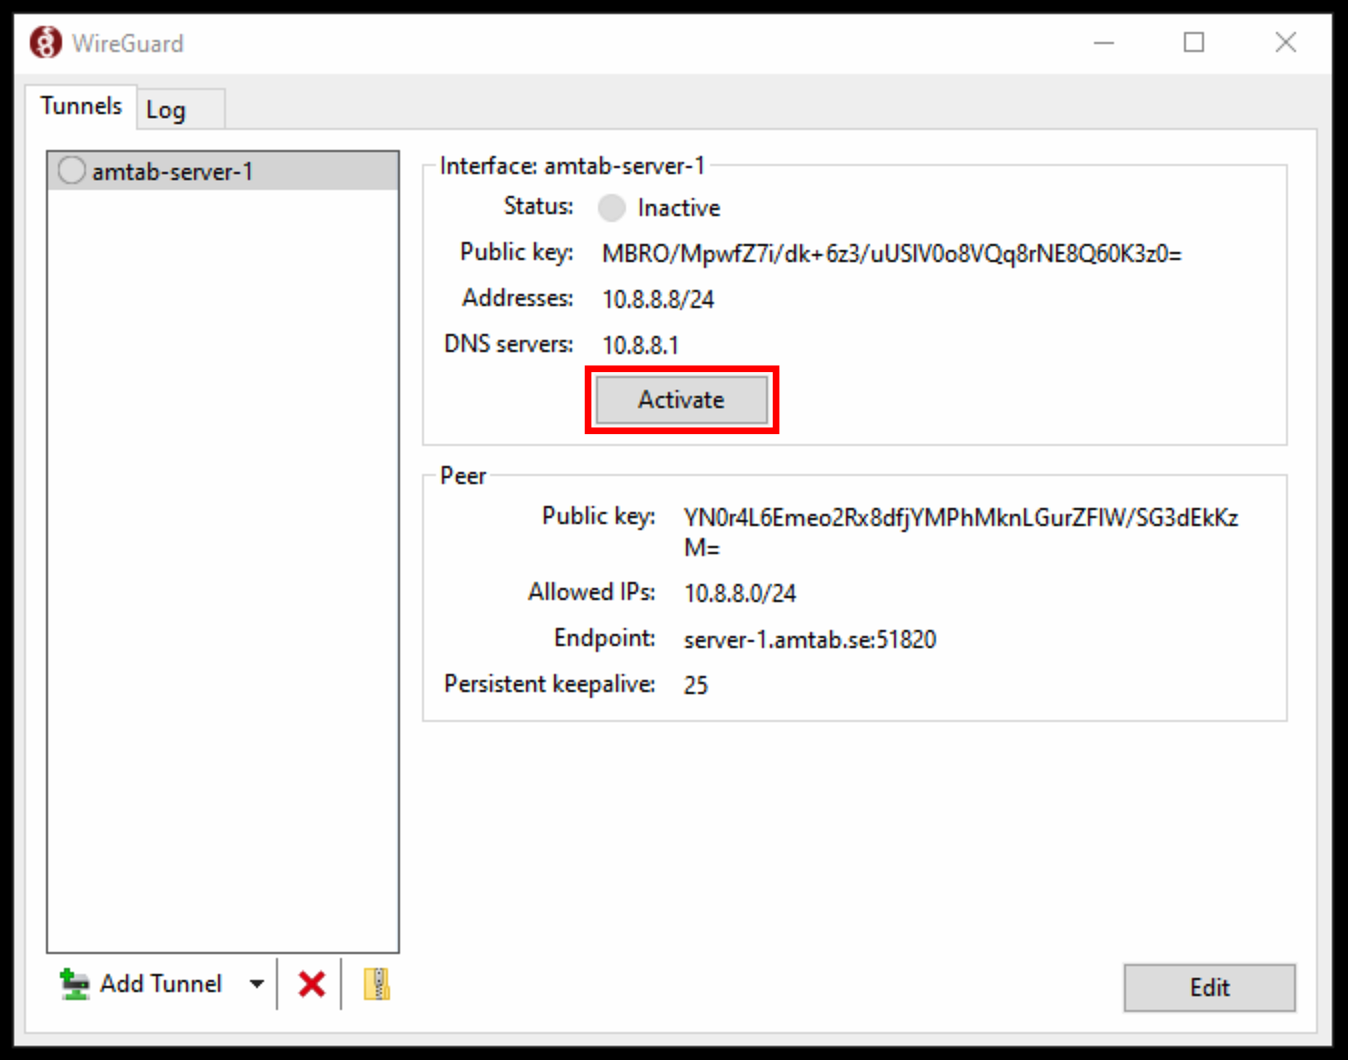
Press “Save”. This will configure your client to establish a tunnel for the networks listed in
AllowedIPs.To activate the WireGuard tunnel, click the “Activate” button. Note that the connection must be approved before it can function. The tunnel will only affect traffic destined for AMTAB systems so it can be activated at all times, but may conflict with other networks in some configurations. If that happens, request assistance from the person who gave you your address.
Test the connection by opening the address of the system you received from AMTAB in a web browser, for example
https://10.9.<x>.10/. It’s safe to ignore the security warning.